Photographing a Senior Session at night? Really?
Yep! Tyler’s session began much later than we had scheduled and that took us well into the evening, past dusk. Thankfully, I had both experience photographing at night and I had the equipment needed in my van.
What’s the big deal about night photography?
Being in the photography industry almost 11 years, I’ve learned many things. One thing is that there are thousands of people with good cameras who consider themselves professional. (Every January lots of new professionals pop up – just watch the buy and sell pages on Face Book or even the posts on Craigslist. So many people are wanting experience to grow their new businesses). Lots of people can take a nice photo with their iPhones or new cameras. Get a decent lens and the average new photographer can even get some really nice photos.
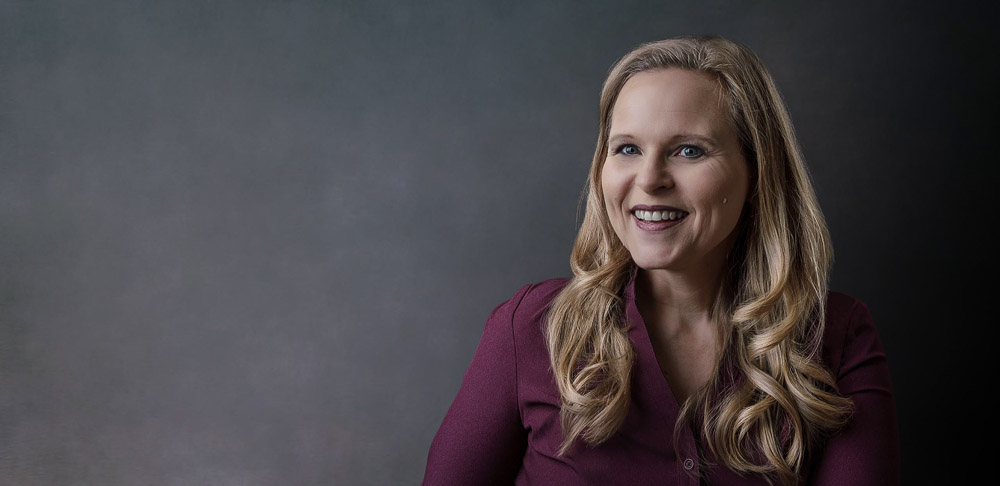
Thankfully, I am a trained studio photographer. I know how to light a space and I know how to light a person, even in the dark! This session required me to use lights on Tyler as well as on the background elements. It really was quite a fun challenge.
Let me set the stage: I was NOT planning on a night shoot. But, due to a communication error, mom and I were waiting for the senior in one location and he was waiting for us in another. The session started as the sun was just above the trees – just AFTER the beautiful “golden hour”. We should have been finishing the session about the time that we began. It was the only day we could fit this session in – we had to do it.
So what’s the process for taking photos of a senior session at night?
I’ve done this before! I know how to photograph in the dark. We can do this. I can photograph a senior session at night. Step one is to get the background and non-subject looking the way you want it. Some of that is accomplished by opening up the lens and slowing down the shutter speed. For closer background elements, off-camera flashes can fill the space with illumination. Step two is to get the lights right on your subject. That usually includes one main light to the side and front, a fill light (or reflector)for the other side and front if needed and a kicker light behind to give separation between the subject and the background. Some of these images had all of those elements and some only had one or two. I let each location dictate my technique.
This first one looks like daylight, but the only available light was an amber street light which was not bright enough to illuminate the rocks. To keep his pupils from opening up, we used a cell phone flashlight and he looked into that.
This photo of the car was definitely enhanced using modern technology and we’re pretty proud of it. It was lit using a main light and a kicker.
See how dark it is behind him? That was our reality. The challenge was fun. One light was behind him providing background light directly behind him. We used a main light on his face and a fill for the shadow side of his face because it quickly fell off into deep darkness. I wish I had less light on the railing behind him but due to placement location limits, that’s the best I could do with the equipment I had on me.
And, why not utilize the beautiful glow of the street lights on our beautiful historic St Charles Main Street? There was a car behind him providing backlight fill but it turned off just before I snapped this shot. Street lights provide a hair light.
Just background light and a main light held by his mom for this one. (Thanks mom for dangling precariously on those stairs)
Okay, okay, this last one was photographed in available light using the flashes to add a little pop in his eyes. It was one of the first images we shot. 🙂
Senior photography is some of my all-time favorites. Day or night! 🙂
Who do you know who still needs/wants amazing senior pictures that are WAY better than your friend can take with his/her new camera. Years of training all wrapped up in a little photographer – ME. 🙂
Yours in service,
Karen Thaemert, CPP
St Charles High School Senior Photographer